
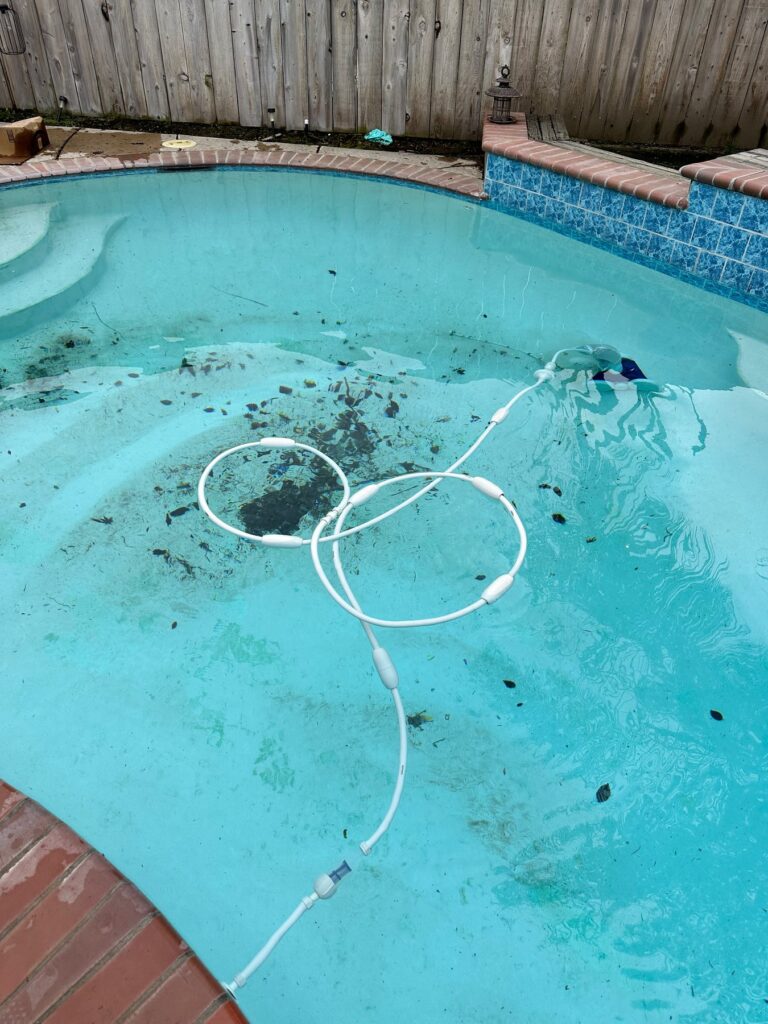
By Chris Barnes · Former pool-service company owner · 7+ years of residential and commercial experience
Pool cleaner losing suction? Do not replace the cleaner—or turn every valve—until you check the entire water path. A suction-side cleaner depends on the pool water level, skimmer, baskets, hose, valves, pump, and filter. A restriction or air leak anywhere along that path can make a perfectly usable cleaner move slowly, stop, or repeatedly lose its grip.
Safety first: Keep swimmers out while testing a suction cleaner. Turn the pump off before removing baskets, opening the pump lid, disconnecting hoses, or changing a multiport filter valve. Relieve filter pressure exactly as the manufacturer directs before opening equipment. Never use compressed air, drain cleaner, pool chemicals, wire, or improvised pressure to clear a suction line. If a submerged suction fitting or drain cover is loose, broken, or missing, close the pool and call a qualified professional.
Pool Cleaner Losing Suction? The Quick Answer
Start by returning the system to a known condition. Confirm the water level, empty the skimmer and pump baskets, clear the cleaner and any inline leaf canister, completely fill the hose with water, and reconnect it without pulling air into the system. Then check the documented valve and regulator settings, compare filter pressure with your clean baseline at the same pump speed, and use the cleaner manufacturer’s flow gauge or RPM procedure when one is provided.
If the pump pot will not stay full, bubbles continue at the returns, or the cleaner slows again after a few minutes, the problem may be a restriction or suction-side air leak rather than the cleaner itself. Work in order and change one thing at a time.
What “Losing Suction” Actually Means
Homeowners often use “losing suction” to describe several different symptoms. Separating them keeps you from buying the wrong part.
| What you see | Likely areas to check first |
|---|---|
| Cleaner starts normally, then slows or stops | Leaf canister, skimmer basket, pump basket, cleaner inlet, filter loading |
| Cleaner never moves normally | Pump speed, valve position, regulator setting, pump prime, cleaner obstruction |
| Bubbles appear after the cleaner is connected | Hose not fully flooded, loose hose cuff, cracked section, low water, skimmer vortex |
| Pump pot loses water while the cleaner runs | Air entering the suction path, excessive cleaner flow, restriction, low water |
| Cleaner moves but misses areas | Hose length, hose weights or floats, return direction, pool shape—not necessarily low suction |
| Cleaner climbs out and pulls air | Too much flow, incorrect regulator setting, hose balance |
This guide focuses on suction-side cleaners connected to a skimmer or dedicated suction line. Pressure-side and robotic cleaners use different systems. If you are not sure which type you own, start with the pool-cleaner comparison guide.
9 Checks Before Replacing a Suction Pool Cleaner
1. Confirm the Water Level and Skimmer Weir
Water that is too low can let the skimmer pull air. A stuck weir door can also starve the suction path or create an unstable vortex. Restore the water to the normal operating level for the installed skimmer and make sure the weir moves freely with the pump off.
Watch what happens when the cleaner is connected. If the skimmer begins to gulp air, stop the pump rather than letting it repeatedly lose prime. Use the pool-skimmer troubleshooting guide if surface flow is already weak without the cleaner.
2. Empty Every Basket and the Leaf Canister
Turn the pump off. Empty the skimmer basket, pump basket, and inline leaf canister if the cleaner has one. Fine leaves and needles can form a dense mat that looks harmless from above but sharply reduces flow.
Inspect each basket for cracks or gaps. Debris that slips past a damaged skimmer basket can move into the hose, suction line, pump basket, or impeller area. Reinstall every lid and basket correctly before restarting.
3. Check the Cleaner’s Inlet and Moving Parts
With the system off and the cleaner removed from the pool, follow the model manual to inspect accessible openings. Acorns, pebbles, twigs, hair, string, and small toys can lodge in the throat, turbine, oscillator, diaphragm, or wheel path.
Do not force a mechanism or disassemble sealed components without the correct instructions. Tire wear, a split diaphragm, damaged gears, or a stiff swivel can reduce movement even when suction is adequate, but eliminate basic flow problems before ordering parts.
4. Fill the Hose Completely Before Connecting It
A hose full of air can make the pump lose prime or send a large burst of bubbles through the returns. Follow the cleaner manual’s procedure to flood every hose section, keep the hose submerged, and connect the cleaner without drawing air.
If the pump lost prime, stop and use the safe pool-pump priming procedure. Do not let the pump run dry while waiting for the cleaner to start.
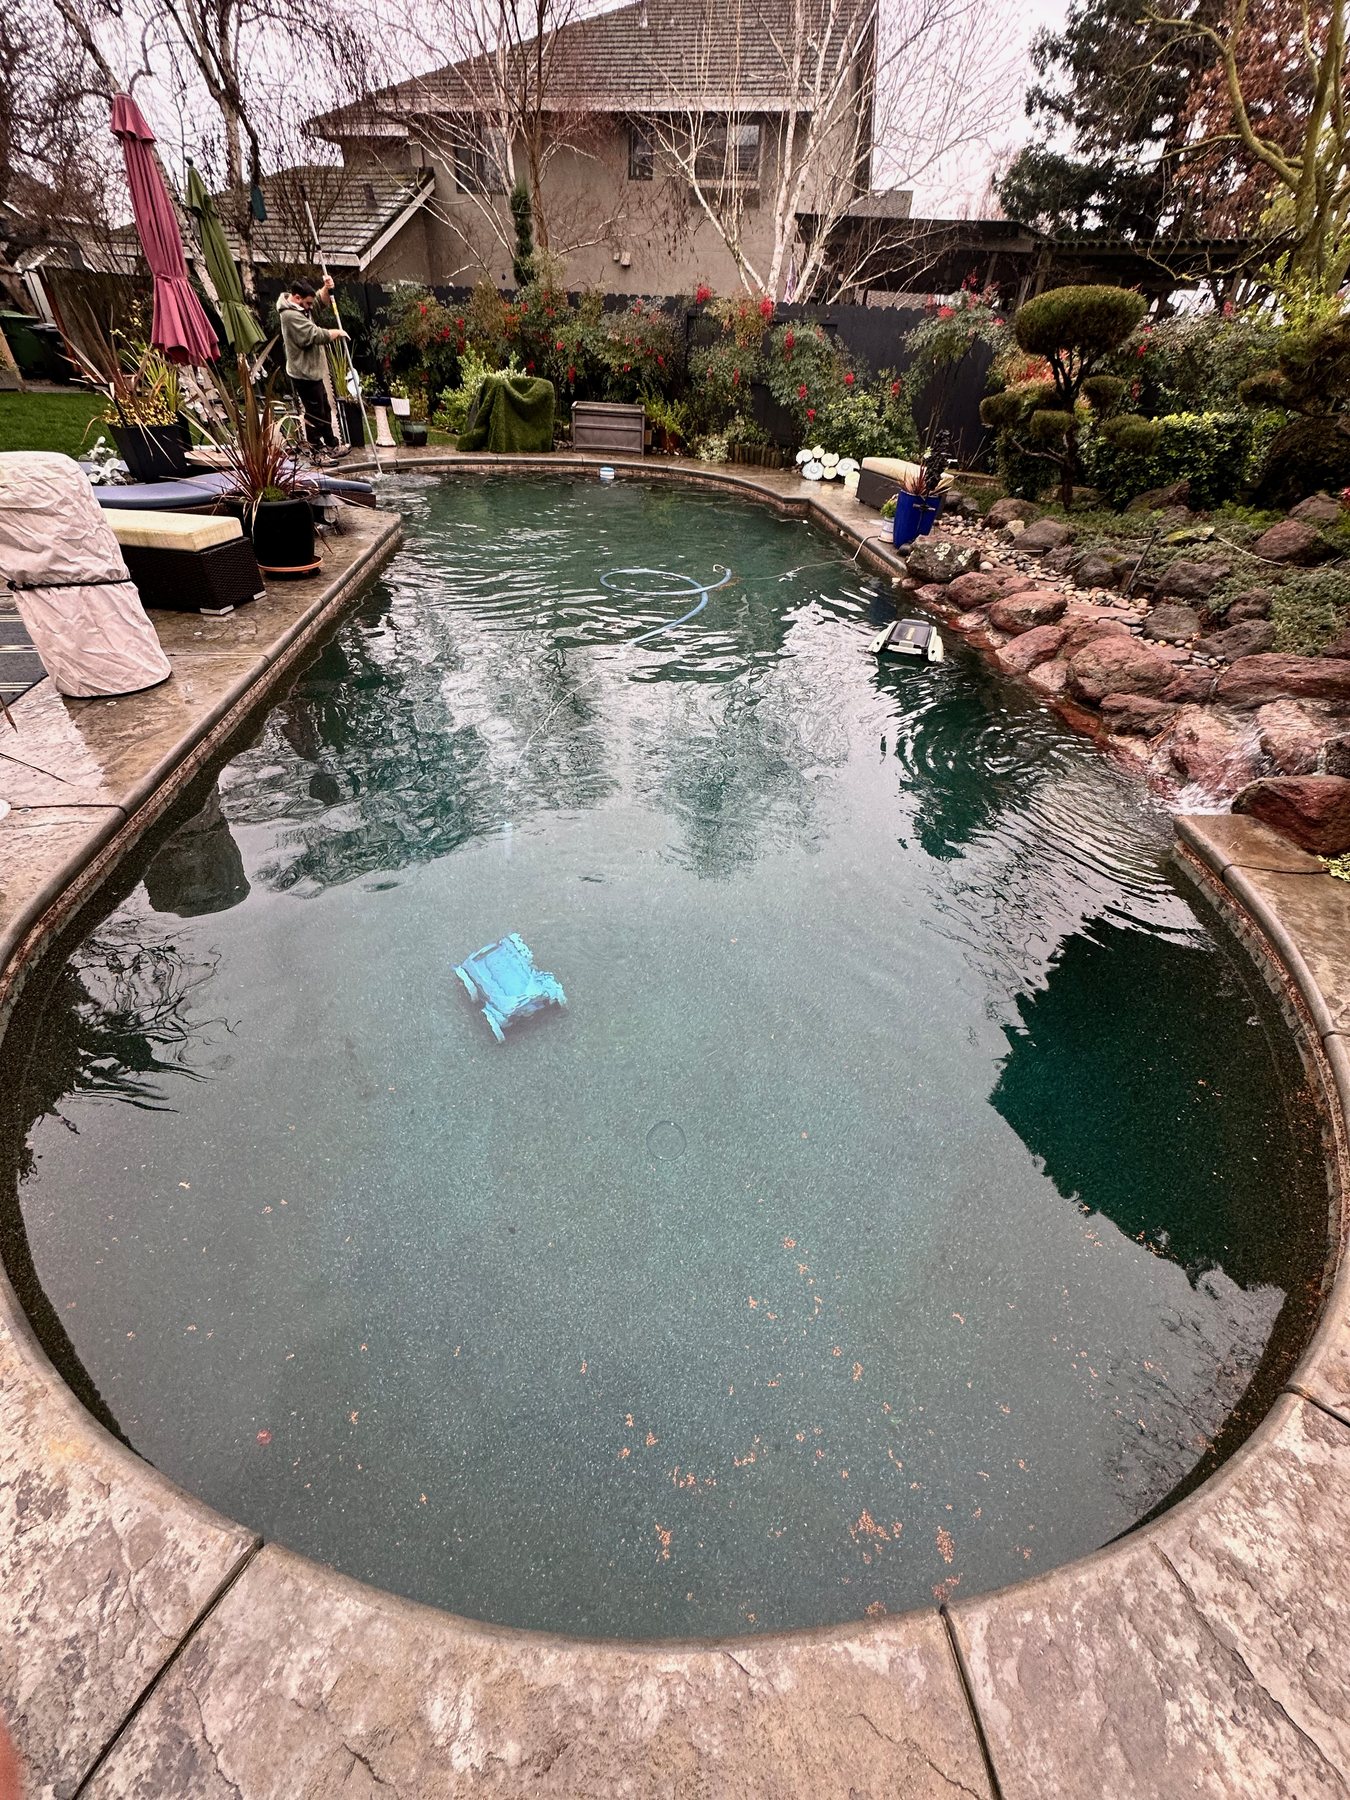
5. Inspect Each Hose Section and Cuff
Look for splits, pinholes, flattened sections, loose cuffs, and connections that do not seat fully. A small opening above or near the waterline can pull air without producing an obvious water leak. Replace a damaged section with the correct hose specified for the cleaner.
Do not seal the hose and pressurize it with compressed air. Use safe visual inspection, observe the pump lid and return bubbles during normal operation, and follow the manufacturer’s troubleshooting method.
6. Return Valves to Their Documented Positions
Compare the valves with a photo or label from normal cleaner operation. A dedicated cleaner line, skimmer, and main-drain branch compete for available flow. The correct balance depends on how the pool was plumbed and how the cleaner manufacturer says to regulate suction.
Stop the pump before changing an unfamiliar valve. Never create a completely closed suction or return path. If you cannot identify the plumbing, use the pool-equipment glossary and photograph the equipment before moving anything.
7. Check the Regulator, Adapter, and Vacuum Plate
Many suction cleaners use a regulator valve or skimmer adapter to control flow. Confirm that the correct parts are installed in the right direction, seated securely, and adjusted within the model’s specified range. A loose adapter can admit air; an incorrect regulator setting can provide too little or too much suction.
A vacuum plate must match the skimmer and sit correctly over an intact basket. Do not improvise a sealed connection or remove safety components to obtain more suction.
8. Compare Filter Pressure and Pump Prime
Compare the gauge with your clean filter baseline at the same pump speed and valve configuration. Pressure well above the clean reading can accompany a loaded filter or return-side restriction. Unusually low pressure, air under the pump lid, or weak returns can point to inadequate water reaching the pump.
Follow the filter manual for its cleaning threshold. Before opening a filter, turn the pump off, isolate power, use the specified air-relief procedure, and confirm that the gauge reads zero. The filter-pressure guide explains why your system’s clean baseline matters more than a universal PSI number.
9. Verify Model-Specific Flow Before Buying Parts
Use the flow gauge, wheel-RPM test, or movement range specified in the cleaner’s manual. For example, Pentair manuals for different suction cleaners provide their own flow-gauge or wheel-speed procedures. Those numbers are model-specific; do not apply one cleaner’s target to another.
If the system reaches the specified flow but the cleaner still does not operate correctly, inspect the wear parts listed for that model. If the system cannot reach the required flow after the safe checks, the underlying problem may be the pump, plumbing, valve configuration, filter, or cleaner-system compatibility.
What Filter Pressure Can—and Cannot—Tell You
The filter gauge is downstream of the pump, so it cannot identify one exact suction leak or hose problem. It helps you recognize a pattern:
- Higher than the clean baseline: look for a loaded filter, incorrect return valve, or restriction after the pump.
- Lower than normal with weak flow: check water level, baskets, valves, pump prime, hose restrictions, and suction-side air.
- Normal pressure but poor cleaner movement: verify the cleaner’s inlet, regulator, hose, flow test, and wear parts.
- Fluctuating pressure with bubbles: stop and look for an unstable water supply or air entering the suction path.
A gauge that does not return to zero after the system is safely shut down and depressurized may be unreliable. Replace a damaged or unreadable gauge before using it to make maintenance decisions.
Can a Pool Cleaner Have Too Much Suction?
Yes. More suction is not automatically better. Pentair’s SandShark guide notes that excessive vacuum can make a cleaner climb beyond the waterline, pull air into the system, and cause the pump to lose prime. Other symptoms can include a cleaner that moves too fast, sticks to fittings, or will not release from an obstacle.
Use the model’s regulator and flow test rather than guessing. Adjust only with an open, safe water path and the pump stopped whenever the manual requires a connection or valve change.
When to Stop and Call a Pool Professional
Call a qualified pool professional when the pump repeatedly loses prime, one suction line appears blocked, the pump basket will not remain full, a valve or housing is cracked, the filter behaves abnormally, or the cleaner cannot reach its required flow after the visible checks. Also stop for breaker trips, damaged wiring, a burning smell, severe pump noise, leaking pressurized equipment, or flooding.
Keep swimmers out and get prompt professional help if a submerged suction fitting or drain cover is loose, broken, missing, or questionable. The U.S. Consumer Product Safety Commission warns that suction-outlet defects can create entrapment and drowning hazards.
Before the visit, record the pump speed, valve positions, clean and current filter pressure, water level, when the symptom begins, and whether return bubbles appear only after the cleaner is connected. Those details can shorten the diagnostic process.
Pool Cleaner Losing Suction: Common Questions
Why does my pool cleaner start strong and then stop?
A collection point may be loading with debris. Check the cleaner inlet, leaf canister, skimmer basket, pump basket, and filter. Also watch for a hose connection that begins pulling air as the cleaner changes position.
Can a dirty filter make a suction cleaner stop?
Yes. A loaded filter can reduce total circulation and cleaner performance. Compare the gauge with the clean baseline at the same speed and follow the filter manufacturer’s cleaning instructions.
Why do bubbles appear when I connect the cleaner?
The hose may not be completely filled, a section or cuff may admit air, the skimmer may be drawing a vortex, or the connection may be loose. Stop the pump before reconnecting parts and do not let it continue losing prime.
Should the main drain be open while the cleaner runs?
There is no universal valve position. Plumbing layouts and cleaner requirements differ. Use the documented normal setup and the manual for the exact cleaner, pump, and skimmer connection. Stop the pump before changing unfamiliar valves.
How can I tell whether the cleaner or the pool system is the problem?
Compare circulation with and without the cleaner at the same pump setting. If the pump cannot maintain prime, returns are weak, or filter pressure is abnormal even without the cleaner, diagnose the pool system first. If system flow is normal and the cleaner receives the model-specified flow, inspect its internal obstruction and wear points.
The Bottom Line
When a pool cleaner is losing suction, start with water level, baskets, debris, hose flooding, hose condition, valve and regulator settings, filter pressure, and pump prime. Then verify the cleaner’s model-specific flow. That order separates a simple maintenance restriction from an air leak, circulation problem, or worn cleaner part—and helps you avoid replacing equipment that was never the real cause.
For the broader system, visit the pool troubleshooting hub. If the setup still does not make sense, use Ask Chris and include photos of the cleaner, hose connection, pump lid, valves, and filter gauge.
Sources and Review Notes
Written and field-reviewed by Chris Barnes. Former Northern California pool-service company owner with more than seven years of residential and commercial experience. Last reviewed September 10, 2026. The manuals for the exact installed equipment, product labels, and applicable local requirements take priority.