
By Chris Barnes · Former pool-service company owner · 7+ years of residential and commercial experience
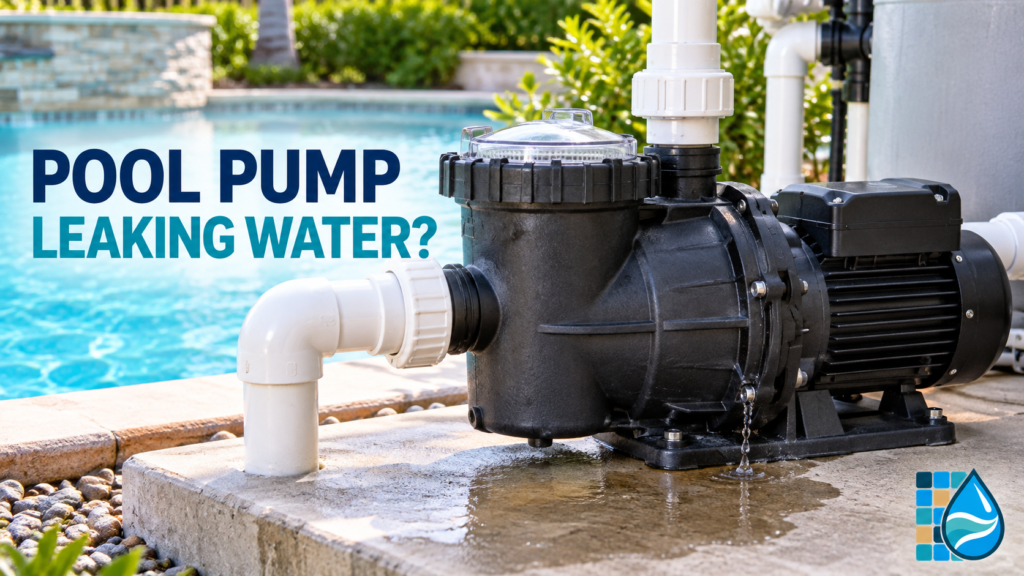
Pool pump leaking water? The location and timing of the drip usually tell you more than the amount of water on the equipment pad. Start with the pump lid, drain plugs, and unions. Then check the housing joint and the narrow space between the wet end and the motor, where a failing shaft seal often shows up.
Safety first: Shut off the pump at the breaker and relieve filter pressure before touching equipment. Keep water away from the motor, drive, wiring, outlets, and automation. Do not open the pump, loosen a filter clamp, or work on a capacitor or electrical compartment. If water is reaching electrical equipment, leave the system off and call a qualified professional.
Quick answer
If the pool pump leaks only while running, inspect pressure-side connections, the housing joint, and the shaft-seal area. If it drips after shutdown or leaves an air pocket under the clear lid, check the lid O-ring, drain plugs, inlet union, and suction plumbing. Dry the equipment, restart it only if the area is electrically safe, and watch for the first place that becomes wet. The first wet point is usually more useful than the puddle below it.
Do not keep tightening plastic fittings. A cracked housing, persistent leak near the motor, breaker trip, burning smell, or water near wiring means stop and schedule service.
A water leak is not always the same as an air leak
The pump’s wet end has two different operating conditions. Before the impeller, the suction side may pull air inward while the pump runs. After the impeller, the pressure side pushes water outward. That is why a suction-side fitting can cause bubbles and prime trouble without leaving an obvious puddle, yet drip after the pump shuts off.
Visible water around a running pump more often points to a pressure-side fitting, housing seal, shaft seal, or cracked component. Use these clues together:
| What you observe | Likely direction | Best first check |
|---|---|---|
| Drip appears only while the pump runs | Pressurized joint, outlet union, housing joint, or shaft seal | Dry the pump and identify the first wet point |
| Drip begins after shutdown | Lid seal, drain plug, inlet union, or water draining back | Photograph the pump immediately and 10–15 minutes later |
| Water appears between the pump and motor | Mechanical shaft seal or related internal seal | Shut down before water reaches the motor; arrange service |
| Air grows under the lid but the pad stays dry | Suction-side air leak | Check water level, lid/O-ring, inlet union, valves, and drain plugs |
| Puddle appears near several pieces of equipment | Filter, heater, chlorinator, valve, or plumbing leak running downhill | Dry the full pad and trace water from the highest wet point |
| Leak changes with pump speed | A joint or seal reacts to vacuum or pressure | Compare only briefly and stop if flow becomes unstable |
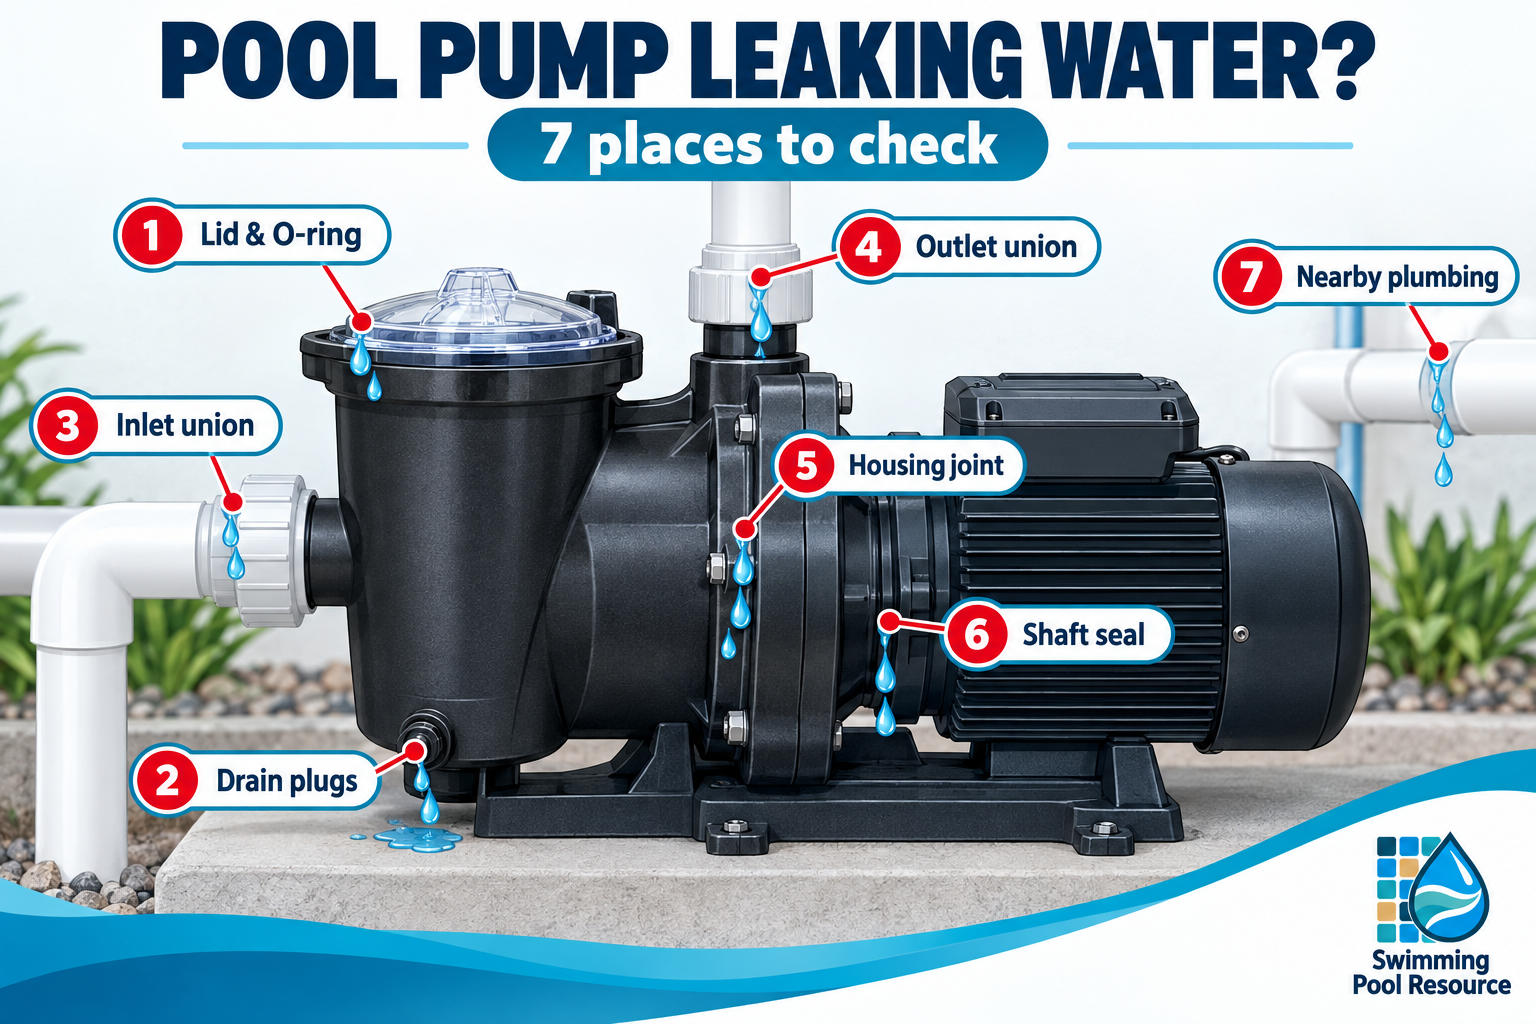
7 places to check when a pool pump is leaking water
1. Pump lid and O-ring
The clear pump lid and its O-ring are common sources of both air entry and shutdown drips. With power disconnected and filter pressure relieved, remove the lid as the manufacturer directs. Clean the lid groove and mating surface. Look for sand, hair, leaves, a twisted O-ring, flattening, swelling, cracks, or a warped lid.
Reinstall the correct O-ring in the correct orientation. Use only the lubricant permitted by the pump manufacturer; many pool-equipment O-rings call for a silicone-based lubricant, but the manual for your exact model controls. Hand-tighten the lid according to the label or manual. Tools and excess force can damage plastic parts.
A lid leak may not spray water while the pump runs because the suction side is under vacuum. Watch for an expanding air pocket under the lid, bubbles returning to the pool, or water that seeps from the lid after shutdown. If the pump also struggles to stay full, use the pool-pump losing-prime guide and safe priming procedure.
2. Pump drain plugs
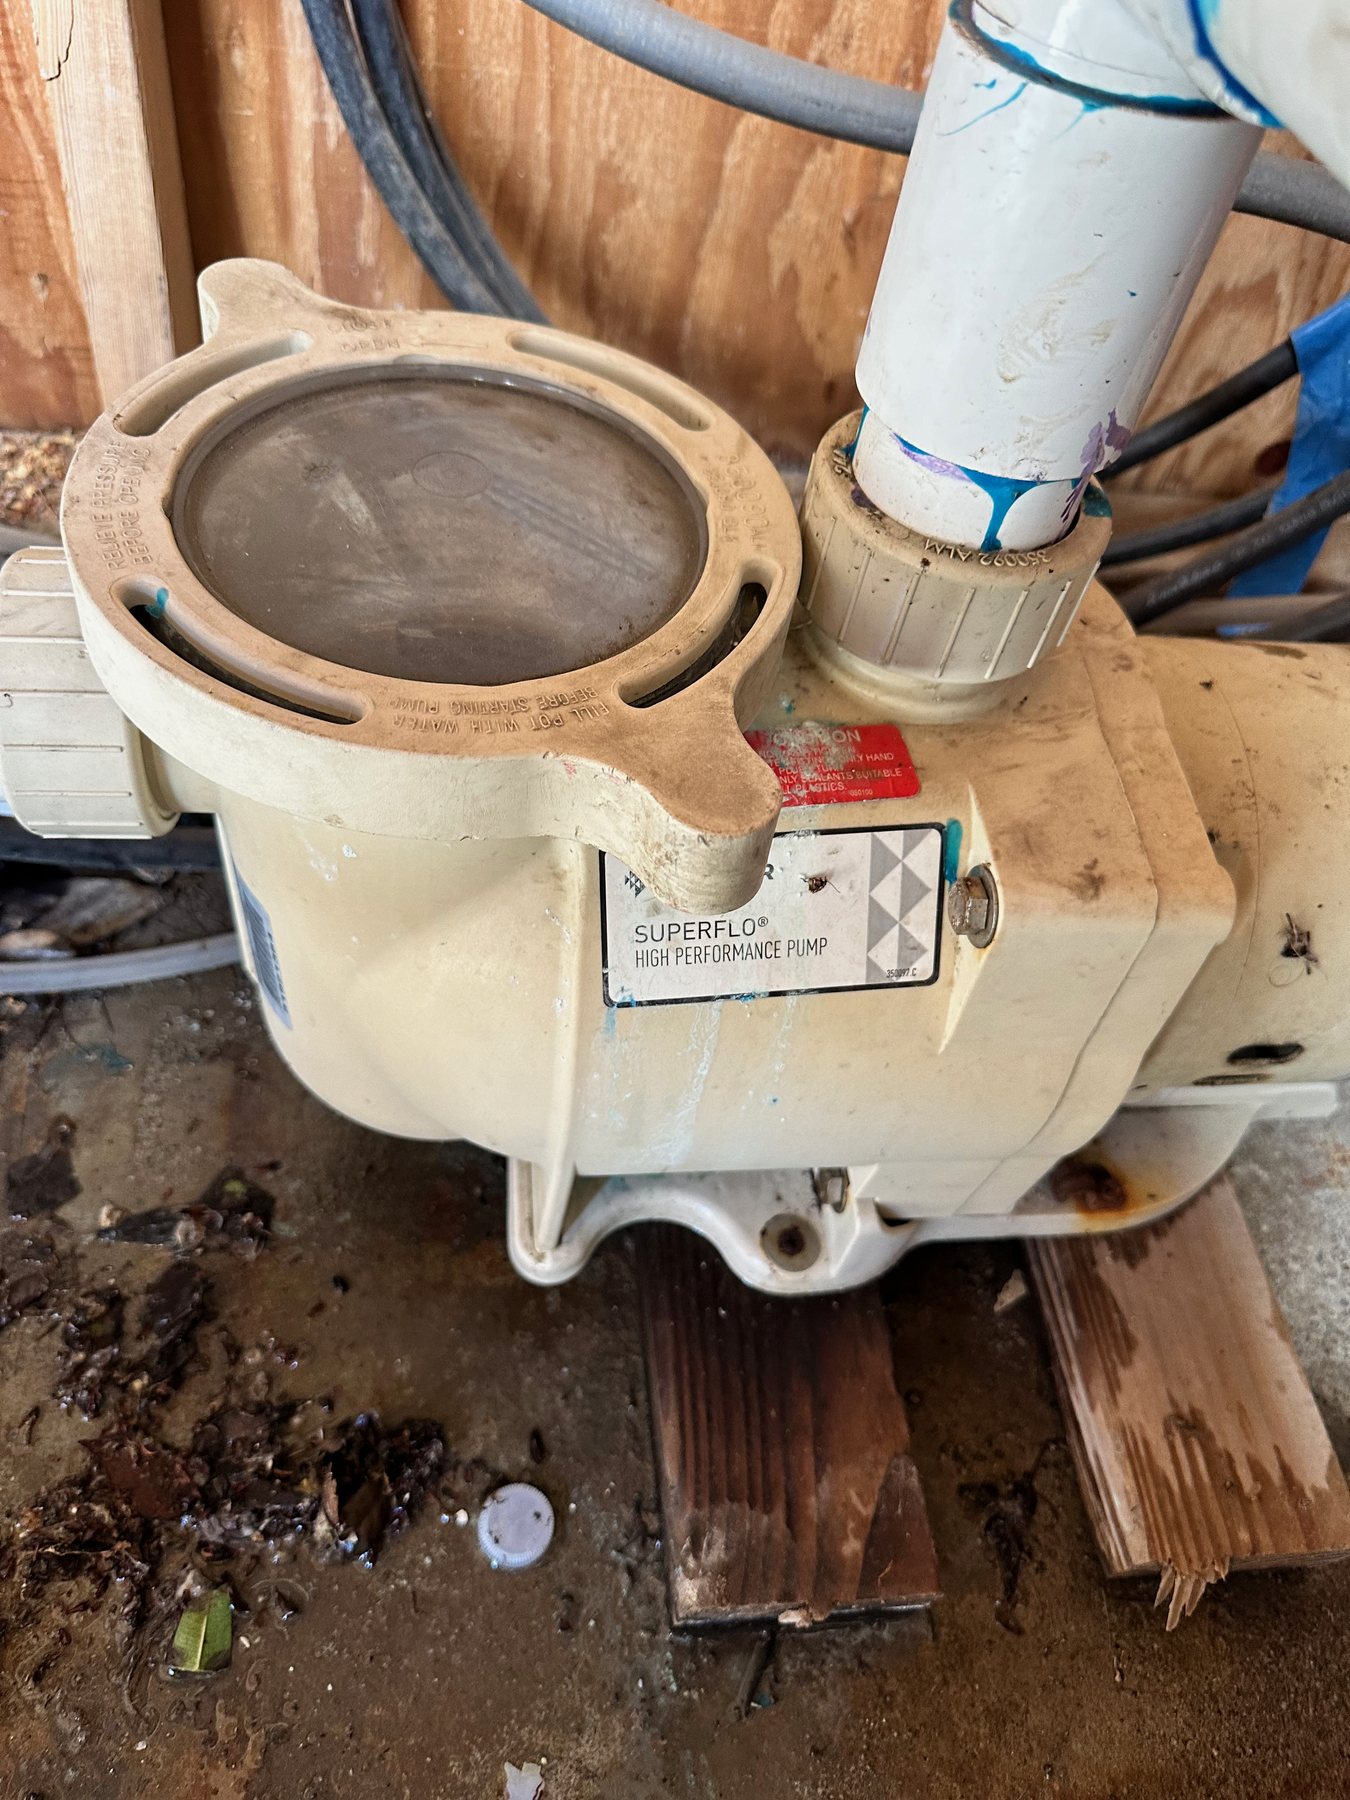
Most residential pumps have one or more drain plugs low on the wet end. They are easy to disturb during winterizing, cleaning, or equipment service. A plug can leak because its O-ring is missing, flattened, cut, dirty, cross-threaded, or installed with the wrong sealant for that model.
Turn off power and relieve pressure before inspecting a plug. Dry the area and look for the first bead of water. If the correct plug and seal cannot be installed by hand as the manual describes, stop. Forcing a plug can crack the pump housing and turn a small repair into a pump replacement.
3. Inlet and outlet unions or threaded fittings
Check both the suction connection entering the front of the pump and the discharge connection leaving the top or side. Union O-rings can pinch or age, while threaded adapters and glued joints can crack from heat, vibration, unsupported plumbing, or overtightening.
The inlet may draw air while running and drip only after shutdown. The outlet is under pressure and is more likely to show water while the pump operates. With the system safely off, inspect for mineral tracks, green or white residue, movement, a visible split, or a union O-ring that is out of position.
Do not use a wrench to chase a leak on a plastic union that is already hand-tight. Do not apply tape or sealant unless the pump manual calls for it on that exact connection. A glued fitting, cracked adapter, or plumbing under strain is a professional repair for most homeowners.
4. The strainer-pot-to-seal-plate or volute joint
The large joint around the middle of the pump seals the strainer pot or volute to the seal plate. Depending on the model, it may use a housing O-ring or gasket held by a clamp, band, or bolts. A leak can appear after the pump has been opened for internal service, after freeze damage, or as the seal ages.
Look for a clean wet line following the housing seam. Also check whether the pump sits flat and the plumbing is supported. A twisted base or pipes pulling sideways can load the joint.
This joint is not the place for a blind tightening experiment. Clamp and bolt sequences and torque values are model-specific, and the pump contains internal parts that must be aligned correctly. If the seam is the first wet point, leave the system off and use the exact service manual or a qualified pool professional.
5. Mechanical shaft seal between the pump and motor
Water dripping from the narrow gap between the pump housing and motor often points to the mechanical shaft seal. This seal keeps water inside the wet end while the motor shaft spins the impeller. When it fails, water may track down the seal plate, drip from a weep area, or collect directly beneath the motor-facing side of the pump.
Treat this location seriously. Water can damage motor bearings and eventually reach electrical components. Turn off the breaker if the leak is active, especially if it sprays or runs toward the motor. Do not reach through openings, remove the diffuser or impeller, hold the motor shaft, or open a capacitor compartment.
Shaft-seal materials, installation direction, and compatible lubricants differ by pump and sanitation system. A seal installed backward, touched on its polished faces, or mismatched to a salt or ozone system can fail quickly. This is a good point to call a pool-equipment technician unless you are trained and are following the service manual for the exact model.
6. Cracked lid, strainer pot, housing, or freeze-damaged fitting
Clear lids can develop fine stress cracks. Housings and fittings can crack after freezing, impact, foundation movement, or repeated overtightening. A hairline crack may open only when the pump warms up or pressure increases.
Clean and dry the suspected area, then use bright indirect light to inspect it with the system off. Mineral deposits or a narrow clean trail through dirty equipment can reveal the path. Never attempt to stop a structural housing leak with glue, epoxy, a hot tool, or a clamp while the pump is operating. A pressure-containing part that is cracked should be replaced with the correct listed component.
If a freeze event preceded the leak, inspect the filter, heater headers, valves, chlorinator, and exposed plumbing too. One damaged component does not rule out another.
7. Nearby plumbing or equipment that only looks like a pump leak
Water follows pipes, cables, concrete slope, and the underside of equipment. A filter air-relief assembly, pressure gauge, multiport valve, heater connection, salt cell, chlorinator, check valve, or automatic cleaner line can leak and send water toward the pump.
Start with a dry pad. Place dry paper towels beneath separate components without touching electrical parts or blocking ventilation. If it is safe to operate the system briefly, watch from the highest plumbing point downward. The first towel or surface to become wet helps separate the source from the place where the puddle collects.
Also rule out rain, irrigation, condensation, and water discharged from a heat pump. If the pool water level itself is dropping, compare the equipment-pad evidence with the pool-leak troubleshooting guide before assuming the underground plumbing has failed.
A five-minute leak-location routine
- Switch the system off. Isolate power at the breaker and relieve filter pressure.
- Make the pad dry. Wipe accessible surfaces and remove standing water without approaching live electrical parts.
- Photograph the setup. Capture valve positions, pump speed, filter pressure, and the dry starting condition.
- Inspect with the system off. Look at the lid, plugs, unions, housing seam, seal area, and nearby equipment.
- Run only if electrically safe. Watch for the first bead of water; do not touch operating equipment.
- Note the timing. Does the leak begin at startup, at higher speed, after heating, or after shutdown?
- Stop before disassembly. A clear location is enough to choose the next repair; you do not need to make the leak worse to prove it.
Should you keep the pump running?
A minor drip at an accessible union is different from water flowing toward a motor or control panel, but there is no universal “safe leak” rate. Shut the pump down immediately when:
- water reaches or sprays toward the motor, drive, outlet, wiring, automation, or heater controls;
- the breaker trips, the motor hums, smells hot, or makes grinding or screeching sounds;
- the pump cannot remain full or starts running dry;
- a housing, lid, filter, clamp, or pressure-containing part is cracked;
- the leak becomes a stream, rapidly worsens, or floods the equipment area;
- you cannot identify the source without touching live or pressurized equipment.
If the leak is small, fully contained away from electricity, and the pump has normal steady flow, document it and schedule the correct repair rather than assuming it will seal itself. Keep checking the pool level so a leaking system does not drop below the skimmer and create a second problem.
Repair or replace the pump?
An O-ring, drain plug, union seal, or shaft seal is usually a repair item when the housing and motor are otherwise sound. Replacement becomes more reasonable when the wet end is cracked, the motor has water damage, several major components are failing, or repair parts are no longer supported.
Do not judge by age alone. Record the manufacturer, exact model number, serial number, pump voltage, programmed speeds, sanitation system, and the first wet point. A professional can compare the repair total with a correctly sized replacement. Bigger is not automatically better; the pump must match the plumbing, filter, heater, water features, and electrical installation. The first-time owner’s pool-pump guide explains how the pump fits into the full circulation system.
Common mistakes that make pump leaks worse
- Tightening a plastic union or plug harder without checking its O-ring.
- Opening a lid, filter, or union before pressure is relieved.
- Assuming the center of the puddle is the source.
- Running the pump dry to “see if it catches.”
- Using glue or epoxy on a cracked pressure-containing housing.
- Replacing the pump before checking nearby equipment and plumbing.
- Ignoring a shaft-seal leak until the motor bearings fail.
- Comparing filter pressure at different variable-speed settings. Use the filter-pressure guide to establish a consistent baseline.
Frequently asked questions
Why does my pool pump leak only when it is running?
The pump creates pressure after the impeller, which can push water through an outlet fitting, housing joint, shaft seal, or crack. Dry the equipment with power off, then watch for the first wet point only if the electrical area is safe.
Why does the pump leak only after I turn it off?
The suction side changes from vacuum to static water pressure, and water may drain back through the lid seal, inlet union, drain plug, valve, or suction plumbing. Photograph the pump immediately after shutdown and again later to document the path.
Can I use pool-lube on the pump O-ring?
Use only the lubricant approved by the manufacturer for your exact pump and O-ring material. Do not use petroleum jelly unless the manual specifically permits it; it can damage some elastomers. Lubricant helps an intact O-ring seat—it does not repair a cut, flattened, swollen, or incorrect seal.
Is water between the pump and motor always a bad shaft seal?
It is a strong clue, but water can travel from a higher housing joint or fitting. Dry the upper surfaces and locate the first wet point. If the water originates at the motor-facing seal area, shut down and arrange proper service before the motor is damaged.
Can a leaking pool pump cause low pressure?
Yes, especially if the same defect admits air on the suction side or the pool level falls enough for the skimmer to pull air. But low pressure also has other causes, including low pump speed, a blocked basket or impeller, closed valves, or a faulty gauge. Compare the gauge only at the same speed and valve configuration.
How much does a leaking pump cost in water?
Even a small continuous leak adds up, but the amount depends on the actual flow rate and how many hours the system runs. Catch and measure the leak for a short, safe interval only when water is contained away from electricity, then calculate daily loss. Do not delay an electrical-risk or structural repair to measure it.
The bottom line
When a pool pump is leaking water, work from the first wet point—not the puddle. Check the lid and O-ring, drain plugs, unions, housing joint, shaft-seal area, cracked components, and nearby equipment. The running-versus-shutdown timing can separate a pressure-side water leak from a suction-side air leak. Stop before electrical work, internal pump disassembly, forceful tightening, or structural repair.
Need help interpreting what you see? Ask Chris about your pool and include a wide photo of the equipment pad plus a close-up of the first wet point.
Sources and review notes
Written and field-reviewed by Chris Barnes, former Northern California pool-service company owner with more than seven years of residential and commercial experience. Last reviewed September 9, 2026. Equipment labels, the manual for your exact model, licensed-professional requirements, electrical codes, and local rules take priority.